The Legend of Zelda: Tears of the Kingdom features some difficult boss fights, and the guardian of the Water Temple is no exception, as Link must face the mighty Mucktorok in battle. Luckily, Link won’t be going up against this menace alone, as Prince Sidon will be right beside him, and the power of the Zora royal bloodline is needed to overcome the Scourge of the Water Temple.
Mucktorok is faced at the end of the Water Temple after Link and Prince Sidon have cleaned the four giant faucets. Try to enter the battle with full health, food, and as many arrows and Splash Fruit as possible. This is because Tears of the Kingdom’s sludge mechanic is a big part of the upcoming boss fight, so Link will need a method for destroying the dirt that clogs up the arena. Prince Sidon’s Blessing power means that Splash Fruits aren’t 100% necessary for the fight, but they make things much easier.
Related: Tears of the Kingdom: How to Sneak Up On The Zora Kids
How To Beat Mucktorok’s First Phase In The Legend of Zelda: Tears of the Kingdom
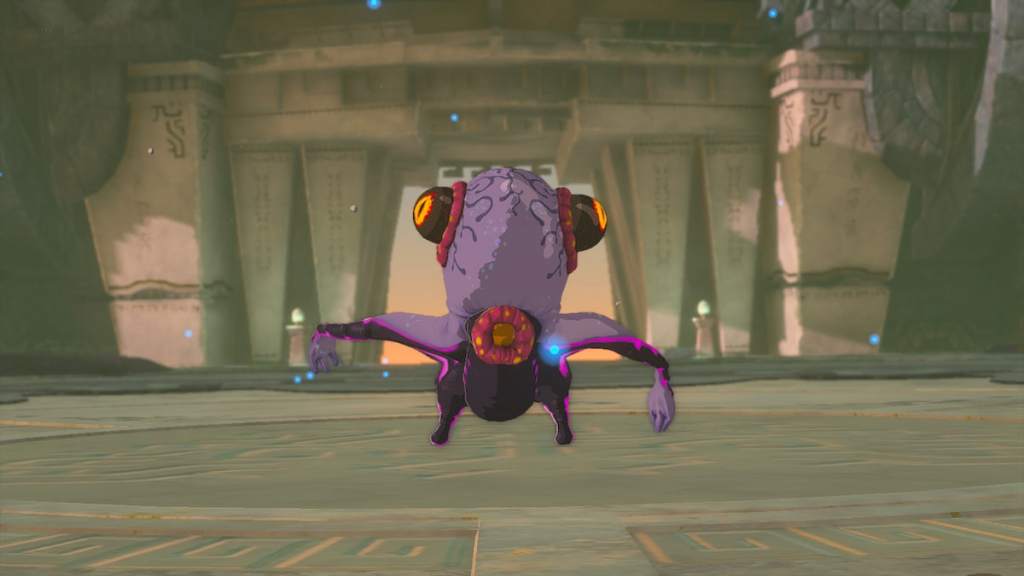
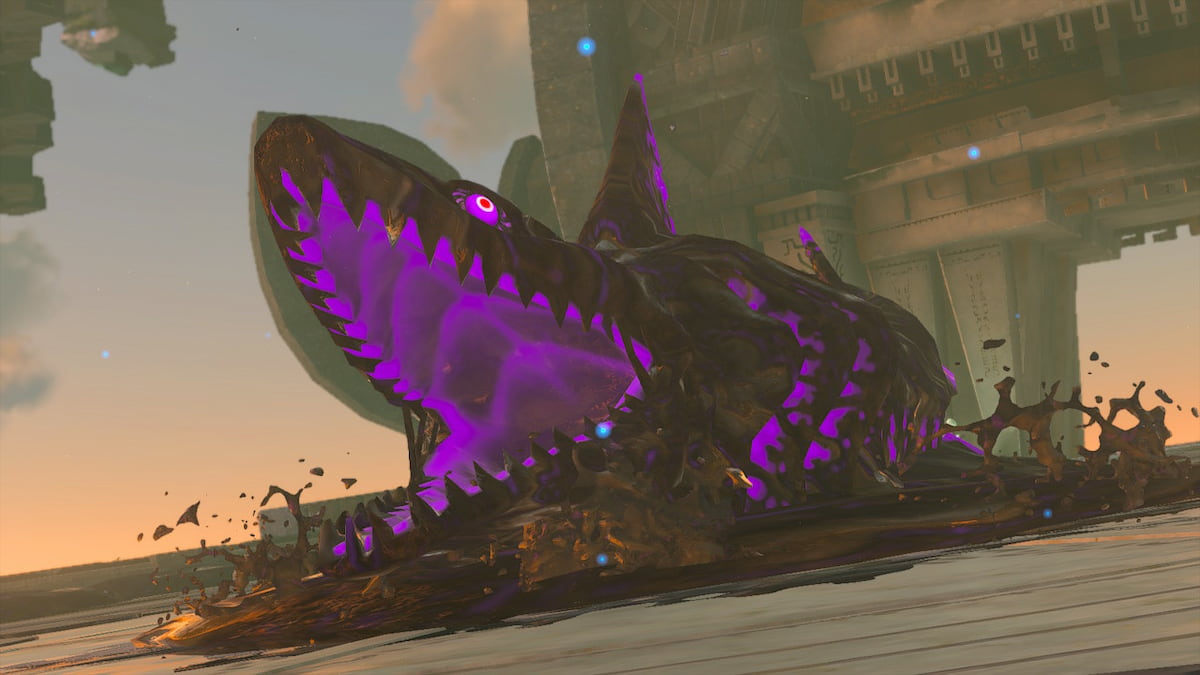
Mucktorok looks like a mix between a squid and a brain, but it doesn’t stay in this form for long, as it will shroud itself in sludge, allowing it to turn into a demonic shark that can swim across the land. To break it out of this form, hit it with a Splash Fruit arrow or fused melee weapon, or use Prince Sidon’s Blessing to strike it with a wave of water.
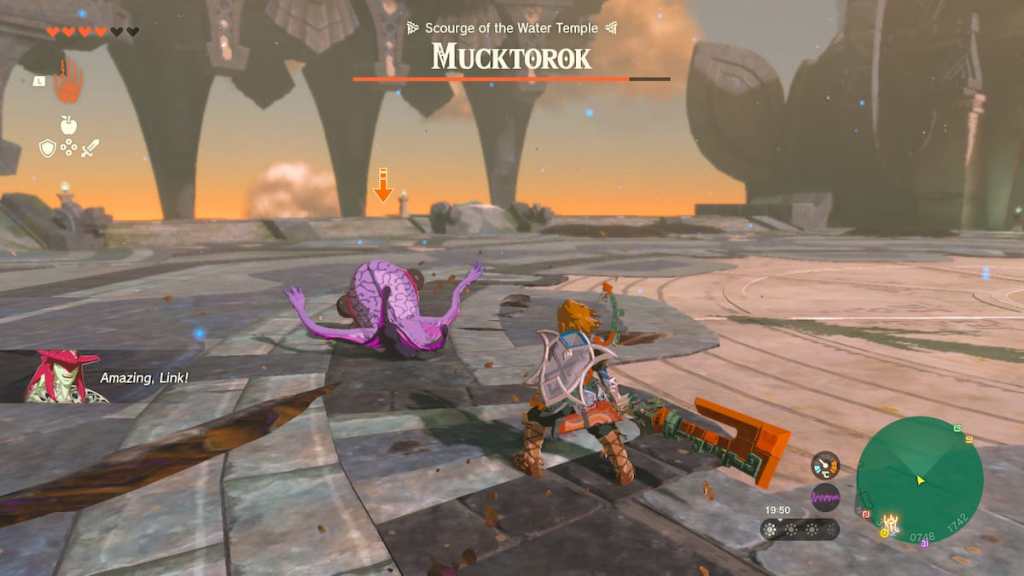
If done correctly, the sludge will be destroyed, and Mucktorok’s main form will be exposed. Link should be able to get a hit or two in before Mucktorok gets up and tries to run away. It’s fast in this form, so don’t be afraid to shoot it with an arrow, knocking it to the ground. You’ll then be able to run over and whack Mucktorok with melee weapons. Repeat this cycle a few times, and the second phase of the fight will begin with a cutscene.
How To Beat Mucktorok’s Second Phase In The Legend of Zelda: Tears of the Kingdom
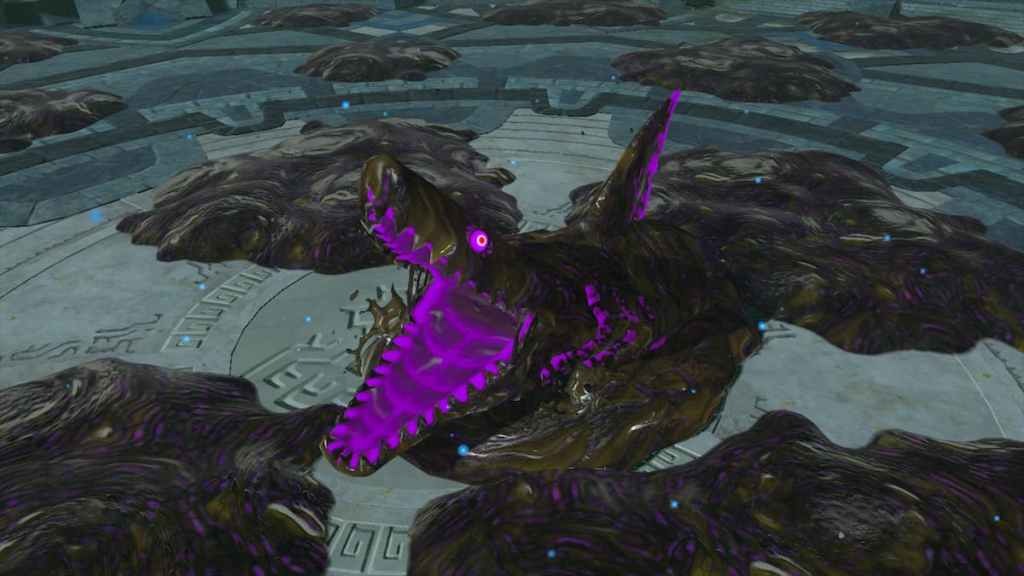
The second phase of this fight is much more difficult than the first. This is because Mucktorok will start throwing piles of sludge around the arena. Not only does this impede Link/Prince Sidon’s movement, but it can absorb Prince Sidon’s Blessing attacks. You must get into melee range to ensure your best chance of hitting it with Prince Sidon’s Blessing.
Related: Tears of the Kingdom – All Elixir Recipes & How To Make Them
During this phase, Mucktorok will fire a beam of sludge, which Link can dodge or block through. It will also fire off a wave of hands made of sludge that fill the arena, which can be blocked using Prince Sidon’s Blessing. Be ready to heal as soon as possible, as these attacks pack a punch.
Once you get a hit in with Prince Sidon’s Blessing or a Splash Fruit, Mucktorok’s true form will start hopping around the battlefield, making it difficult to strike and expose it. It’s best to save your arrows for this stage of the fight, as it’s easier to shoot Mucktorok in this form than to strike it with a melee weapon or Prince Sidon’s Blessing. Once knocked down, run in and whack it with melee attacks until it gets up again and uses its sludge shroud to turn into a shark. Rinse and repeat, and this boss battle will be finished.
And that’s it! Check out our other The Legend of Zelda: Tears of the Kingdom guides below to help with crafting, exploring, and tackling challenges across Hyrule.
Tears of the Kingdom Complete Guide | Every Ability & How To Unlock Them | How to Get The Paraglider | How to Get & Use The Travel Medallion | All Armor Locations & Where to Find Them | All Construct Materials & Where to Find Them | All Shrine Locations & Strategies | How to Get More Heart Containers





Published: May 14, 2023 06:47 pm