
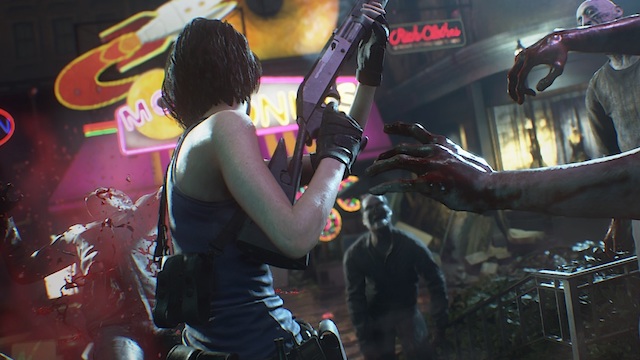
Resident Evil 2’s 2019 remake has a bunch of unlockable rare items to find by completing a lot of puzzles scattered across the map. So here is to how to unlock the safes in-game to save you a bit of time.
Resident Evil 2’s 2019 remake has a bunch of unlockable rare items to find by completing a lot of puzzles scattered across the map.
One of these puzzles is the various large safes that are hidden in areas across Racoon City. These massive safes house essential upgradeable items for a lot of the weapons available in the game. Below, you can find some of the locations of these safes as well as what the combination code for each one is.
To unlock safes, you need to turn the dial either left or riot in order a specific number of times before clicking enter. If you are successful, the safes will unlock and give you the item(s) housed inside.
Resident Evil 2 Remake Safe Combinations
With that in mind, here is the location of three safes as well as what codes you need to put into them to unlock them. Please note that these codes were found during early playthroughs of the game and could be different during your playthrough or in Leon’s campaign.
Unlock Waiting Room Safe Combination – Racoon City Police Department
To find this safe, you have to explore the east side of the police station and go into the Waiting Room (second floor). At this point, all you have to do to find the safe is check behind the desk.

If you are looking for the solution for this safe, you’ll find it in the Observation Room (first floor), written into an internal RPD document on a side table.
- Safe combination: 6 Left, 2 Right, 11 Left.
- Rewards: Muzzle Brake for Leon’s pistol Matilda; High Capacity Mag for Claire’s JMB Hp3 firearm.
Unlock West Office Safe Combination – Racoon City Police Department
This safe is located on the west side of the police station (first floor). You will find an office aptly with “West Office”: enter this room and go into the side-room finding the safe in the corner. Please note that you’re not alone: there is also a zombie waiting for you up against the wall.

If you’re looking for the solution for this safe, you can find it in the S.T.A.R.S office (second floor): it is written on a post-it note that you can see on an internal memo left on one of the desks.
- Safe combination: 9 Left, 15 Right, 7 Left
- Rewards: Hip Pouch for both Leon and Claire (inventory space boost)
Unlock Treatment Pool Room Safe Combination – Sewers
You can find this safe in the middle level of sewers. To find it you have to reach the Monitor Room, then exit through the only door you’ll find and cross the bridge to reach the Treatment Pool Room (in which you will find the safe you’re looking for).

Finding the solution for this safe is pretty straightforward: all you have to do is look on the right-hand side of the unit and search a chalk writing.
- Safe Combination: 2 Left, 12 Right, 8 Left
- Rewards: Shotgun Stock for Leon’s W-870; Reinforced Frame for Claire’s SLS 60


Published: Jan 23, 2019 06:22 pm