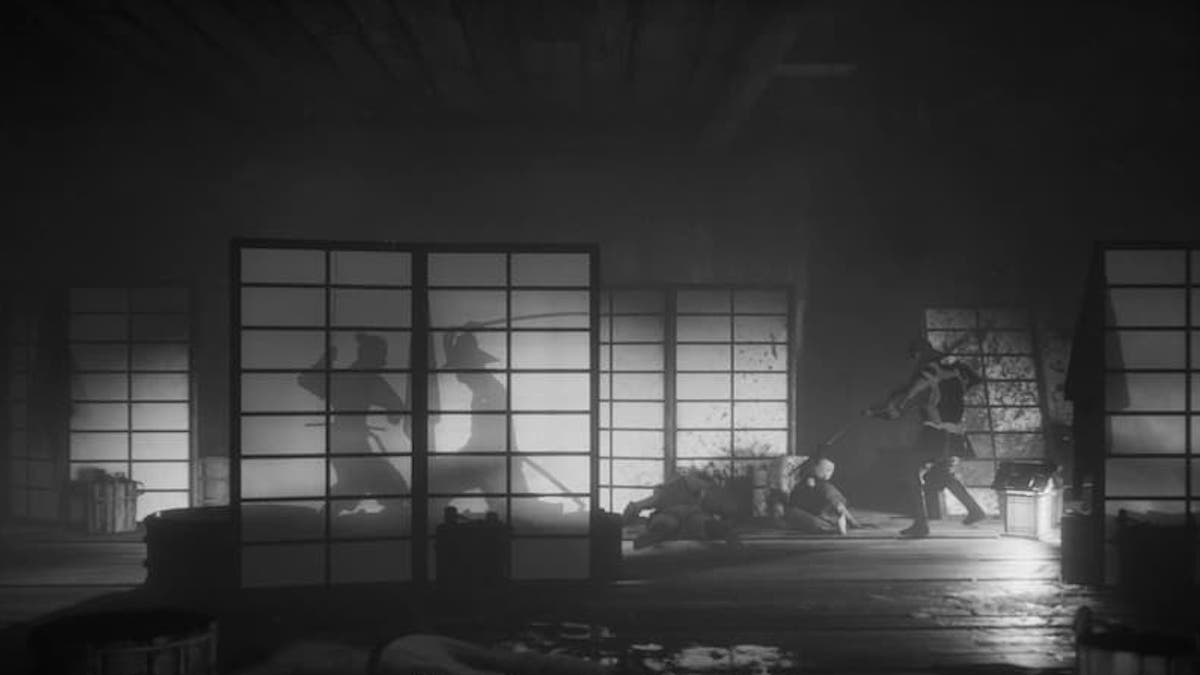
The fourth chapter in Trek to Yomi introduces a few wrinkles to the plot and gameplay. This is where you’ll start contending with supernatural foes; meanwhile, completionists must also keep track of many collectibles.
Our guide below will help you acquire all 10 Artifacts in Trek to Yomi’s fourth chapter.
All Trek to Yomi chapter 4 Artifact locations

The chapter’s first Artifact, the Onyudo, is almost impossible to miss. After passing the interactive NPC, walk to the bench in front of the cage. Interact with it to snatch the first chapter 4 collectible.

Shortly after the first Artifact, you’ll encounter NPCs resembling creatures tossing bodies into a pyre. There’s a building just behind the pyre, indicated by a swinging lantern hanging outside of the entrance. Upon entering the house, you’ll see the Noppera-Bo sitting on the table in the foreground near the entrance.

This next Artifact comes after you drop down into a swamp-like area for the first time, where you’ll fight a miniboss. After the miniboss, you’ll fend off another wave of creatures before being able to climb up a ledge to your right, leading to a shrine. Instead of walking through the huge arch to your right, take a left. The Otoroshi is found sitting on top of a crate after the set of stairs.

After defeating the first blighted enemy introduced through a dialogue scene, the following screen features a shrine and a river with a miniature dam. You’re able to interact with the cranks at the top of the dam to wipe out the enemies at the foot of the river or fight them conventionally. After making it past this area, the Hitotsume-Kozo is inside the first building next to the ladder.

You’ll wind up fighting a single samurai atop a rope bridge. Past this path, you’ll notice a stone face carved into the wall. Move past this area and drop down into the swamp-like area below. After killing some creatures, you can climb up a ledge, which is where the road forks. Move in the direction of the player camera past the shrine. Topple the tree past the shrine by pushing Hiroki up against it. Cross the newly-laid bridge, where you’ll find the Yurei toward the left side of the ledge.

After making it through a portion of a village that has been turned into creatures, you’ll encounter a shrine in front of a bridge. This bridge houses a battle against an enemy introduced through a dialogue scene, with you situated toward the right end of the screen. After wiping out your foe:
- Continue left until the screen changes.
- Ignore the lantern beckoning for you to enter the building to the north.
- Keep moving toward the left instead until you find a dead body in front of a campfire.
This is where you’ll find the Uwan, sitting on the ground beside the corpse.

Return to where the road forks. Now, you’ll want to go through the building with the lantern adorning the entrance. Once inside, drop down to the floor below and exit through the right side. Keep moving until you notice a bridge to your right. Ignore this bridge and take the path to your left. You can pick up the Nuppeppo from the ground in front of the support structure beside a cage at the end of this screen.

After fighting Morimitsu, you’ll come across a village in a swamp-like area. This first screen features a cart near the entrance, along with some cages and two NPC creatures, one of which is feeding on flesh. Cross the village’s bridge to reach a walkway underneath a few buildings. Once you see the shrine, move toward the screen until the camera exposes a ladder. Take this ladder, then examine the logs outside of the building’s entrance to acquire the Inugami.

Once you use a raft to cross a river through a cutscene, you’ll know the next Artifact is approaching. After the cinematic ends, follow the linear path, and you’ll wind up taking a ladder that leads you a few stories up. Once outside, the bridge you have to navigate begins collapsing behind you. Sprint and kill the creatures along the way with heavy strikes to ensure you have the time to cross. Once free of the bridge’s grasp, you’ll notice a shrine to the north. Ignore this and climb the ledge to the right instead. The Ushi-Oni is laying on a crate on the ground behind the NPC.

Near the end of this chapter, you’ll have to push a pillar down to progress along the critical path. After using this pillar as a makeshift bridge, you’ll drop down and slide along a rock formation. Continue along the linear path until you see a single cage housing a creature. The Yamawaro is on the crate next to the cage.


Published: May 5, 2022 10:40 pm