

For His Amusement is the penultimate main quest in the Horizon Forbidden West: Burning Shores DLC. It sees Seyka and Aloy team up once again after patching things up so that they can stop Londra’s plans for the Quen. This guide explains how to complete the quest, covering each step, puzzle, and key fight.
Related: Horizon Forbidden West: Burning Shores DLC Walkthrough – Quests, Collectibles, Challenges & Machines
For His Amusement Walkthrough
You’ll start For His Amusement after heading to a beach to make up with Seyka. This is where she and Aloy agree that they need to put everything else aside for the good of the Quen.
Step 1: Override a Waterwing
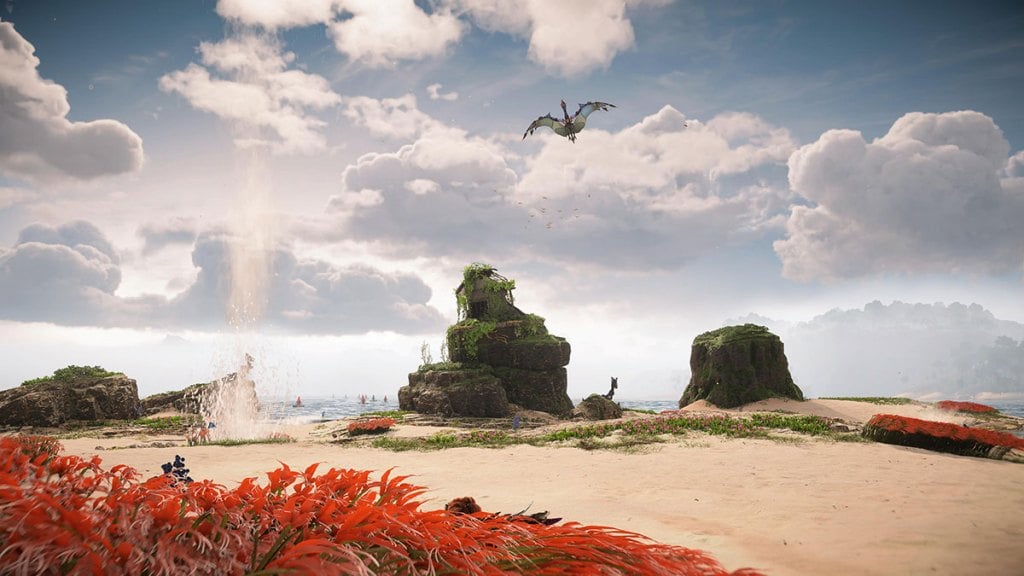
The first task ahead of you is overriding a Waterwing so you can fly across the sea to Londra’s base of operations. There’s another tower out to sea that blasts everything that gets near it out of the sky, which is why you need a Waterwing. They can fly under the water to avoid the blasts. The problem is that there’s no Cauldron nearby for Aloy to acquire the override. After speaking with Beta, it becomes apparent that an override can be manufactured after gathering a couple of pieces from some Waterwings out in the sea: a Wing Membrane and a Ballast Regulator.
How to get A Waterwing Ballast Regulator and Wing Membrane
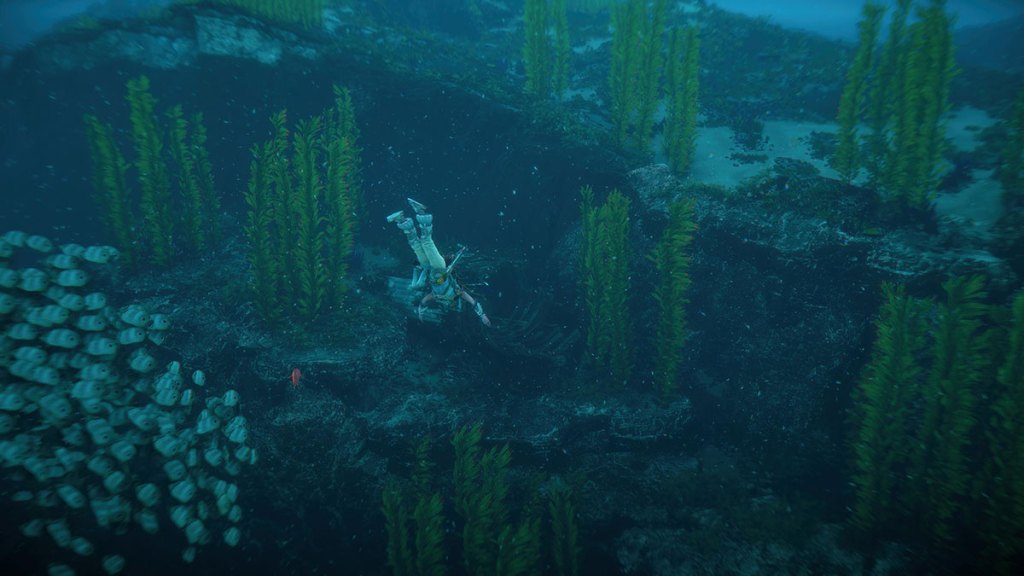
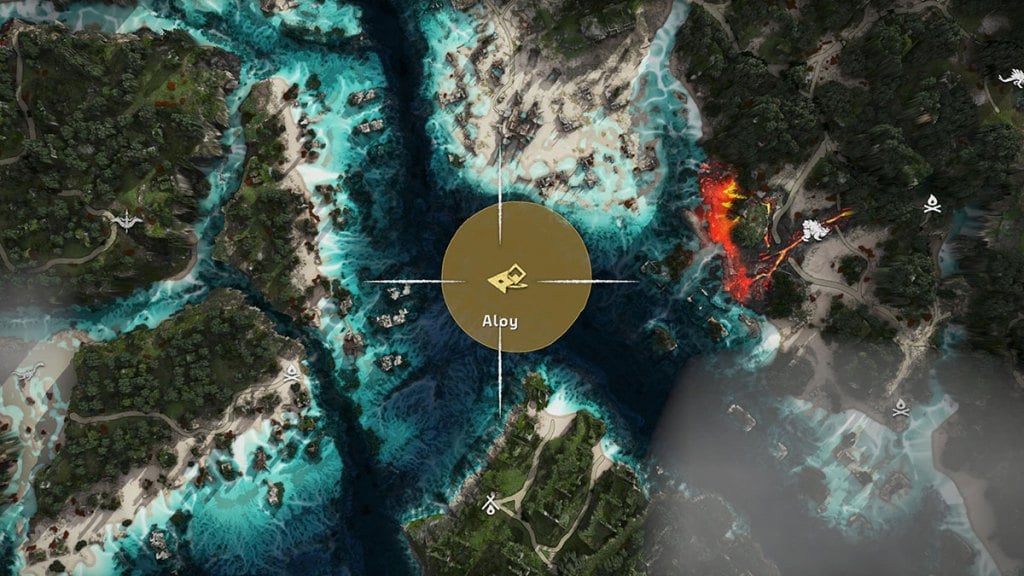
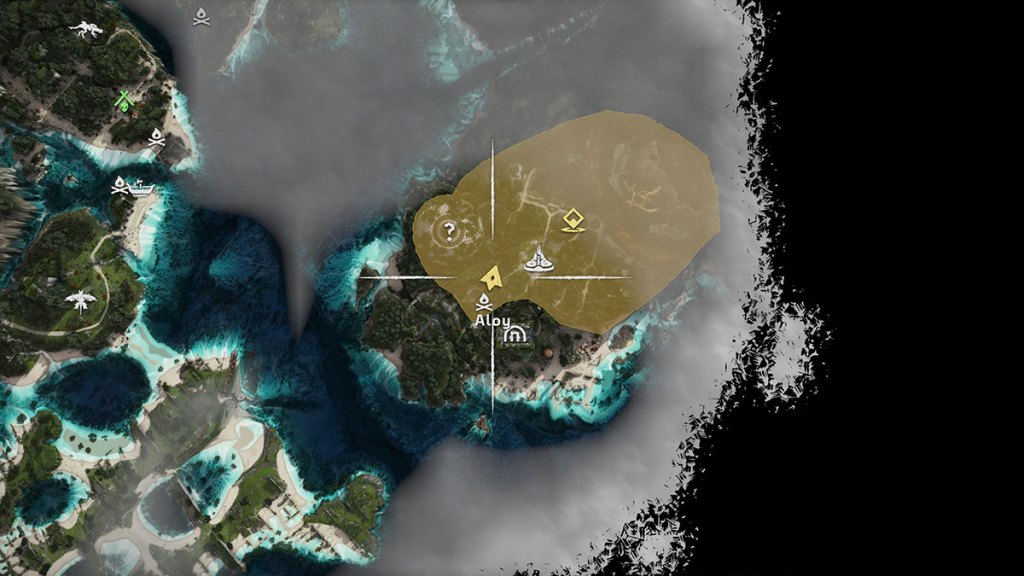
To find a Waterwing Ballast Regulator and Wing Membrane, you need to fly or sail out to the map marker you’re given. It’s out to sea, and the parts you need are below the surface. You can’t get them from any living Waterwings. Dive beneath the waves and use Aloy’s Focus to identify Waterwing bodies. These show up as dead machines, and there are about five in this area for you to search. We found the Ballast Regulator on a Waterwing at the location shown on the map below, just to the left of the center of the circle.
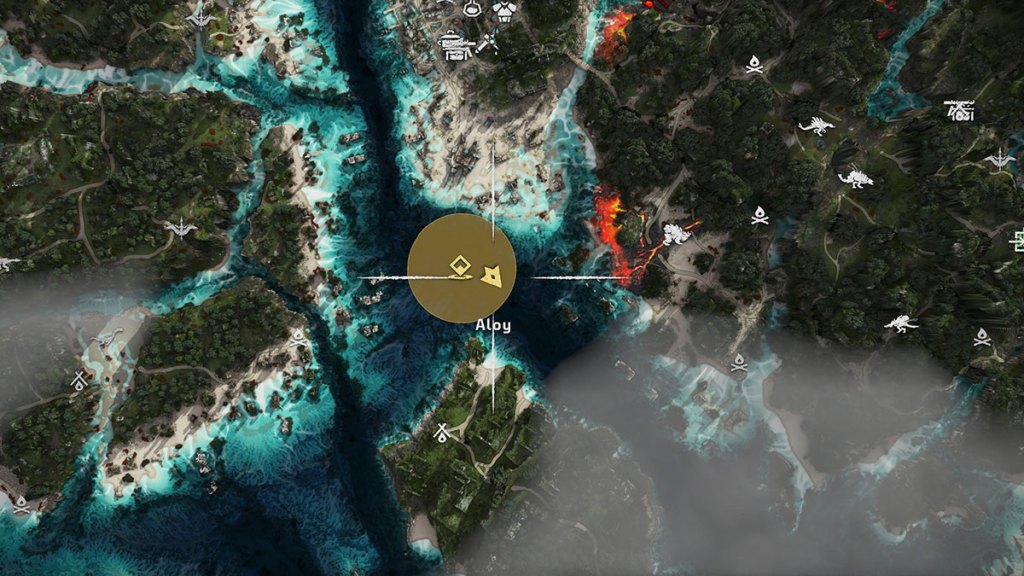
We found the Waterwing Wing Membrance at the location shown in the map image below, over to the right-hand side of the circle.
You’ll need to watch out for Snapmaws as you search for these parts. There are plenty of wrecked Quen ships that have ballista you can use to kill them with. A single shot will down a machine, so they’re worth paying attention to if you’re being relentlessly pursued.
After collecting these parts, Beta will call Aloy and send her the override. We would have liked to see another Cauldron dedicated to the Burning Shores DLC, but there’s something else that makes up for it later. From here, you need to override a Waterwing. The quest will direct you to a beach where Waterwings hang out, and you must pick one. We stuck to the left of the beach because a Waterwing lands here by itself, making it easier to override.
Step 2: Pass the Tower
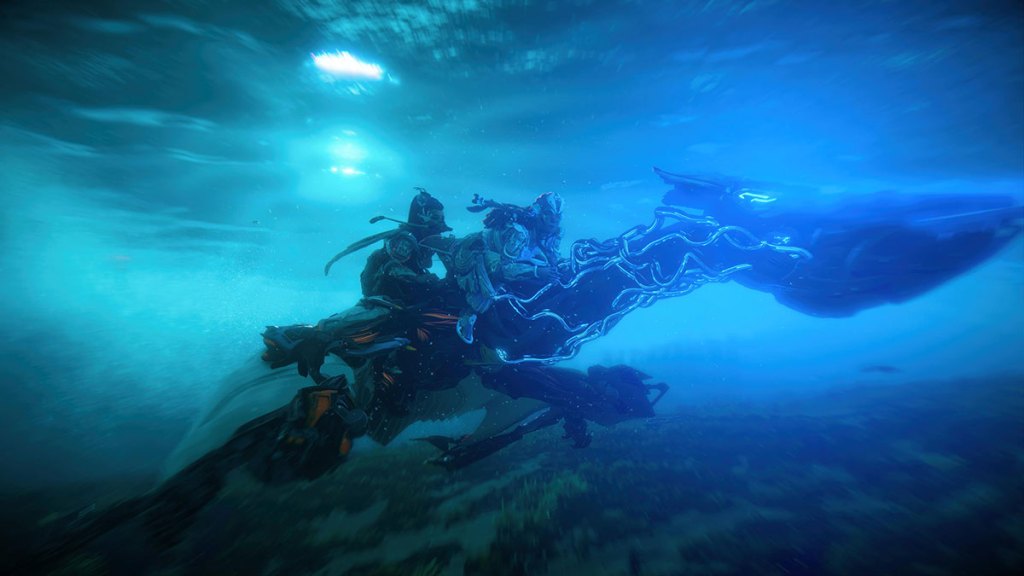
Now you have a Waterwing mount, it’s time to fly past the tower to get to Londra’s island. This kicks off immediately, and you’ve got to figure out the mechanics quickly. Aloy has given her rebreather to Seyka, so she has a limited time she can spend underwater.
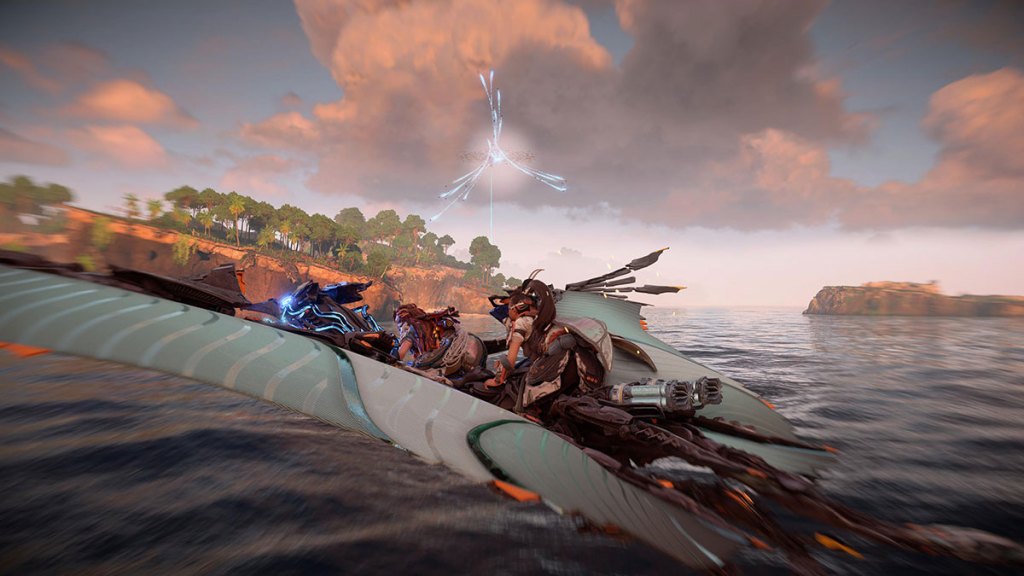
When the tower fires missiles, you’ll hear an alert going off. Wait a second or so, then dive underneath the water. The missiles will explode on the surface. You must fly over a few pockets of shallow water along your journey. Get across these as fast as possible, or you’ll take too many hits. Dive under the water too early, and Aloy will drown. Dive too late, and everyone dies. Get the timing right, and you’ll land on the island before you know it.
Step 3: Get Past the Barrier
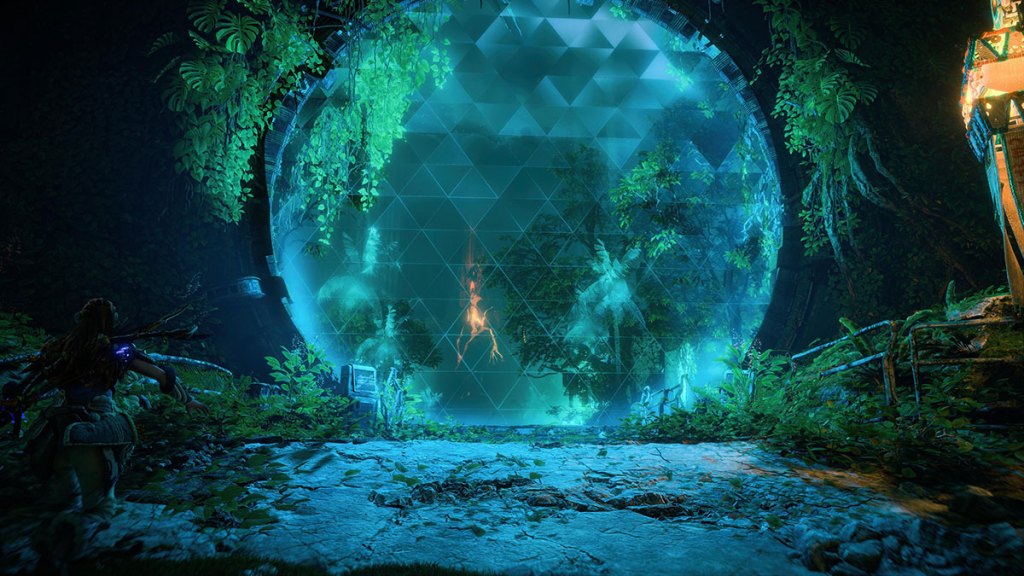
Now you’re on the island, you can explore a little. It’s not long before you come across some Quen guards and a massive barrier blocking your way into the park. To get past the barrier, you need to keep exploring over to its right-hand side.
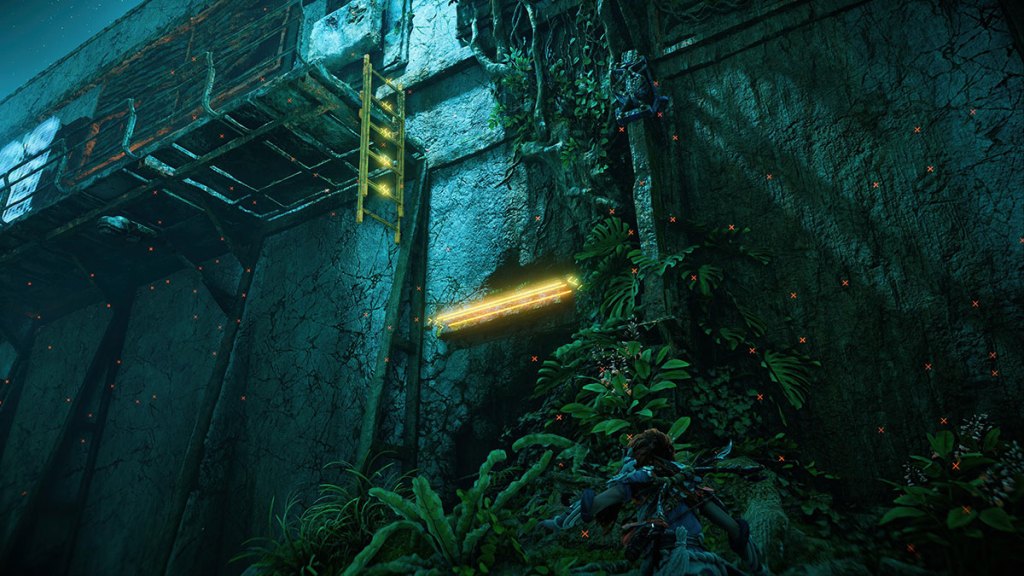
You’ll eventually come across a gap you can go through. Keep an eye out on your left because there will be a ladder for you to climb up. Use your Pullcaster to drag down the nearby beam so you can hop onto that, then onto the ladder.
Step 4: Get to Raptor Raid
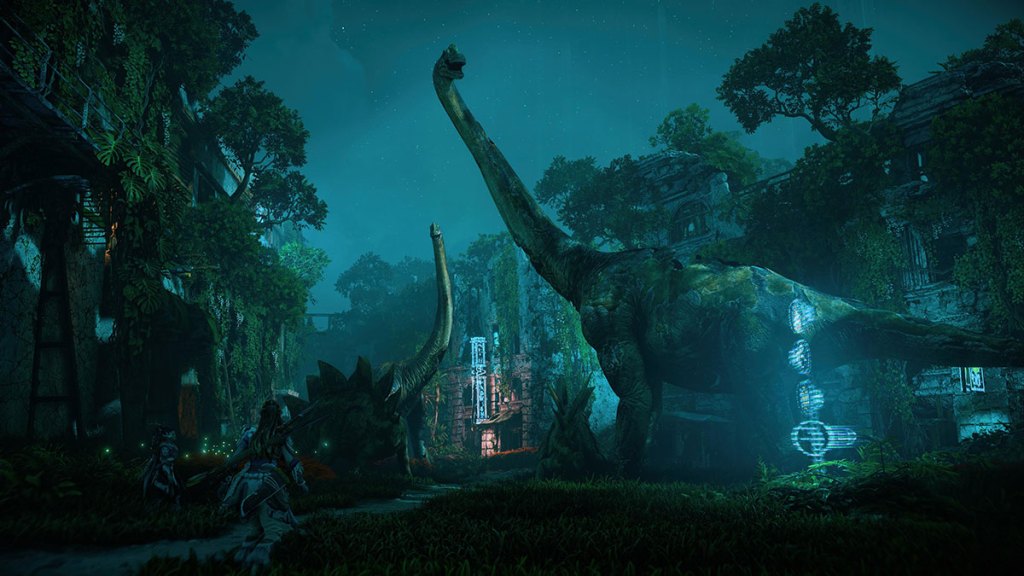
After you enter the park through the building you find, you’re free to explore the area. It’s an open sandbox clearly inspired by Jurassic Park, with loads of holographic dinosaurs that Aloy and Seyka will discuss. However, the story advances once you reach Raptor Raid, which you can find at the map location shown below.
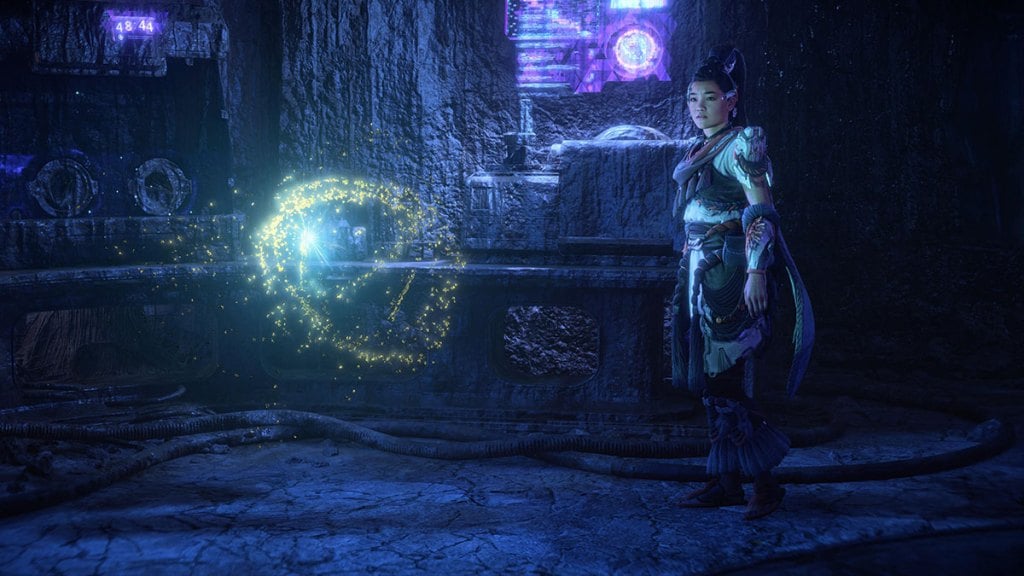
When you get inside, Seyka will see her sister Kina. Aloy holds her back until most of the Quen have left, but you’re in for a fight if you want to move forward.
The enemies in Raptor Raid are weak to Plasma damage, so use as much of it as you can. It’s worth checking our best weapons guide if you’re unsure which ones will benefit you the most at this point in the game.
Step 5: Unlock the Volcano
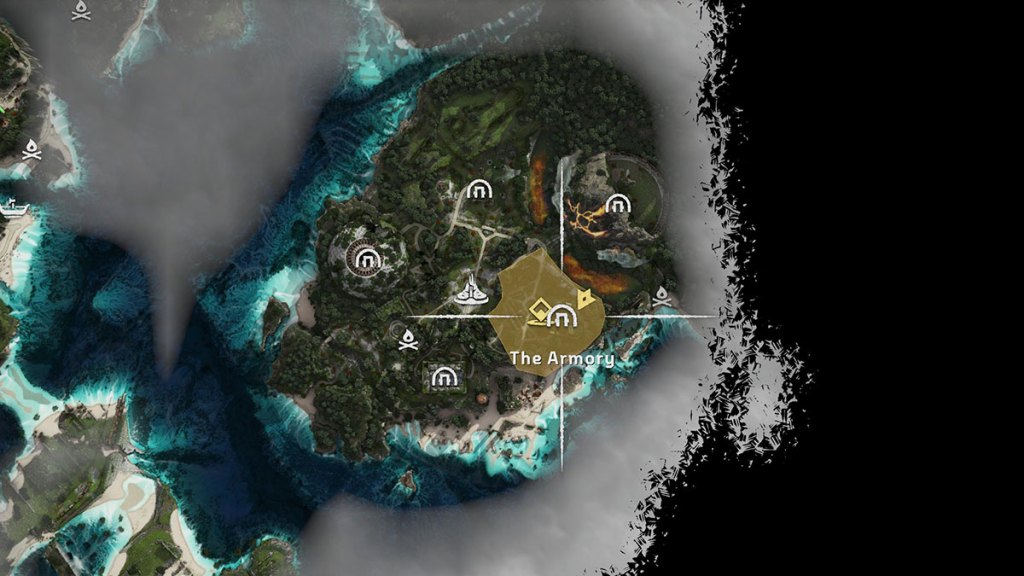
After dealing with the Quen enemies in Raptor Raid, you’ll head to the volcano, where Walter is taking all of his favorites. Unfortunately, it’s locked, so you need to find a way to unlock it. A nearby building called The Armory will help you get inside. See above for a map reference for its location. You use the key you picked up from the biggest Quen enemy earlier to get inside.
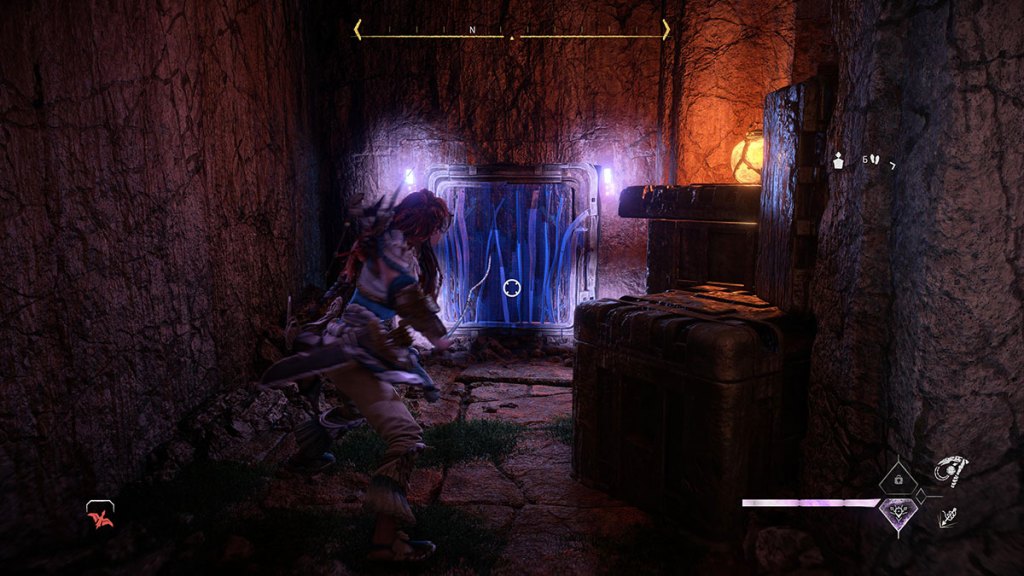
The Armory must be explored before you can do anything else. Take the time to scan everything and look at the Datapoints so you understand everything that’s going on. Then, make your way to the corner of the supply shelving to find a vent to pull open and crawl inside.
This leads you to a new underground space with some Zenith technology. You don’t know what it is yet because it’s powered off. When Aloy cycles the power, the battery dies, so she needs to find a new one.
How to Find a New Battery and Reset the Power in The Armory
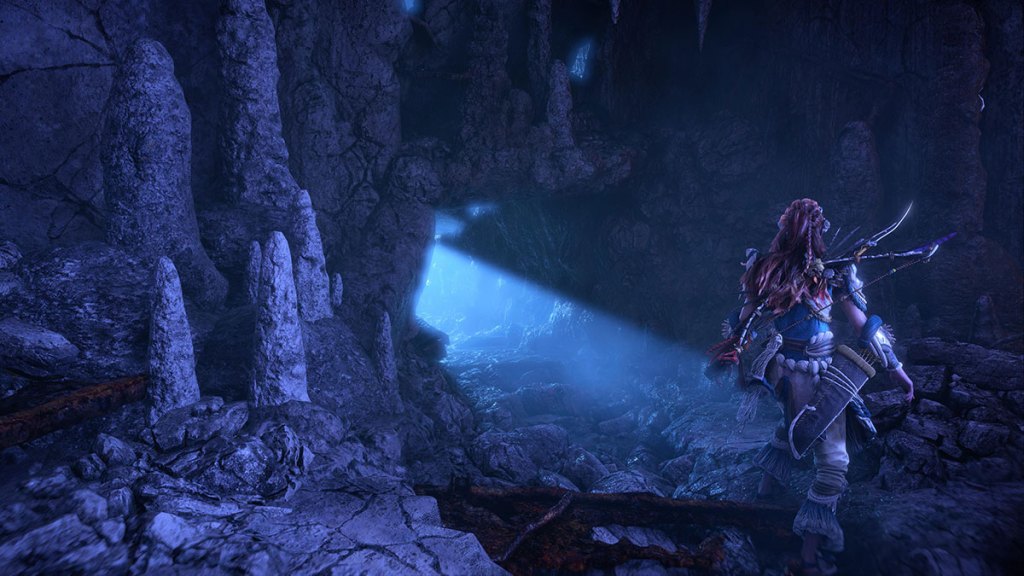
Pull the battery out of the machine because it’s useless. To find a new one, check every room and head to the far side of this underground area. There’s a small opening at the bottom of a wall where you can sneak through to a new section.
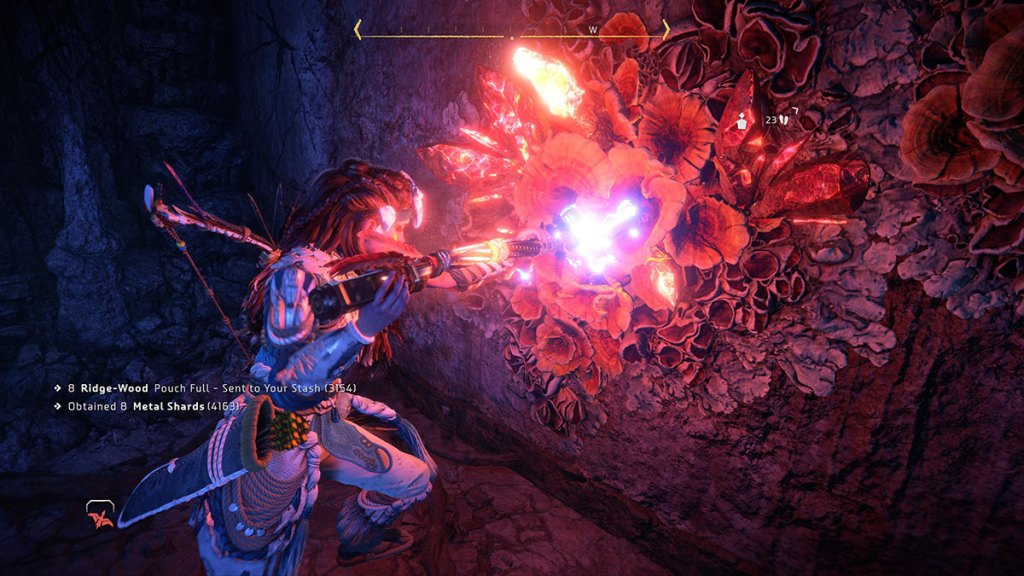
You’ll find a room with some Firegleam on the wall as soon as you enter. Blow this up because it’s your way back to the main chamber. Then, explore this new area as much as possible. Londra was clearly using it to hold Quen for some reason, and you’re about to find out why.
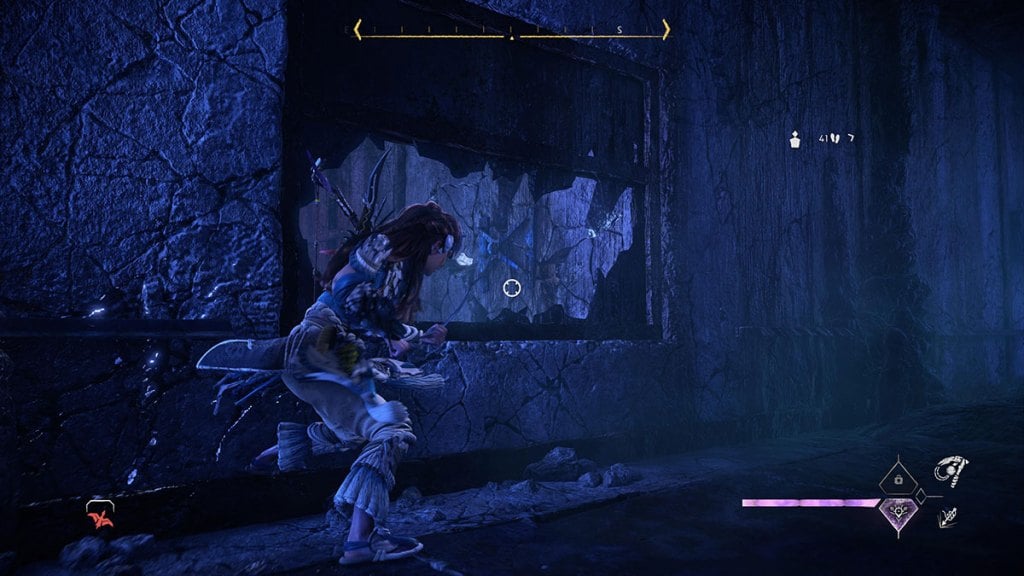
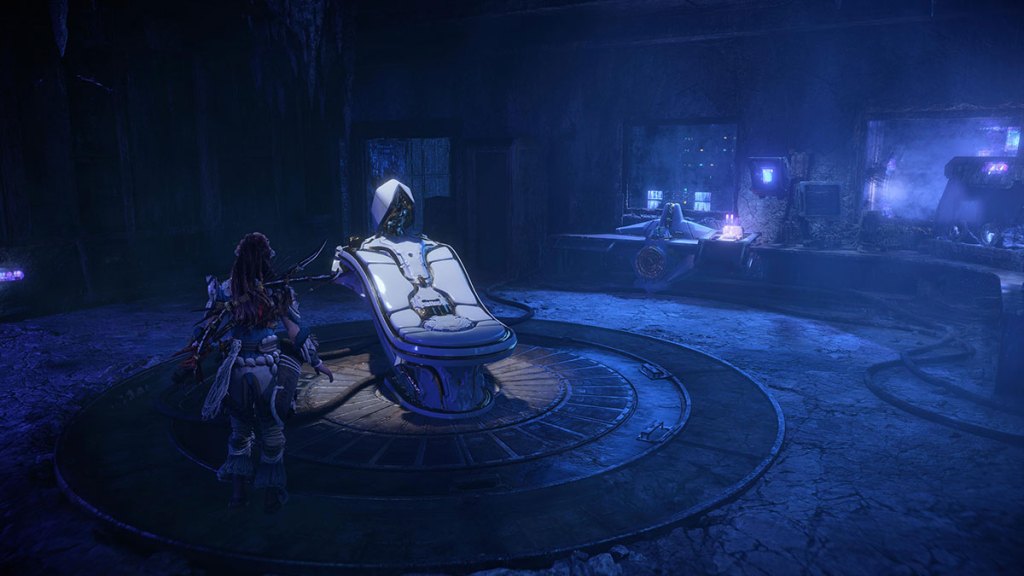
You’ll see a broken wall through a window at the end of the hallway. Use your Pullcaster to break the wall so you can get inside and grab the new battery. Walk the battery back to the Zenith chair, throw it in the power unit, and cycle the power.
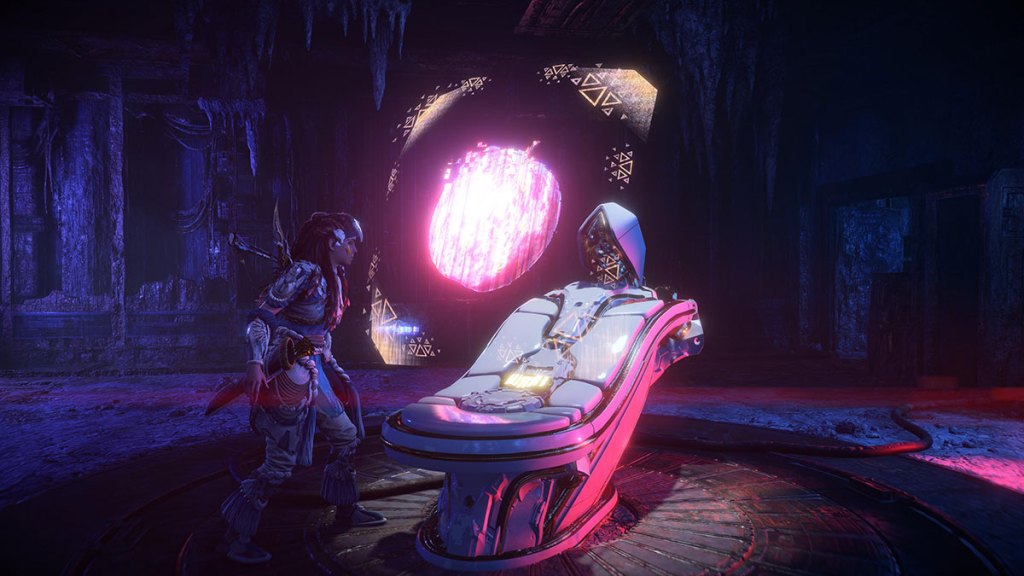
As the Zenith chair comes to life, Aloy and Seyka will slowly start to understand what’s been going on here. Walter’s been brainwashing the Quen he brings here to make them more hostile and obedient. He’s then been using a refined version of the brainwashing on those he wants to take with him when he seeks out a new world beyond the stars.
It’s now that Walter’s AI companion Nova presents itself. You can ask about Walter’s plan and learn more about what’s happening. Then, Nova says it’ll let you into the volcano if you kill it. Aloy agrees, and the path forward is opened once again.
Step 6: Confront Walter

Head back to the volcano and go inside. You’ll enter just as Kina is performing her speech to Walter and catch him as he’s about to take her as his mate for the future. Luckily, he’s perturbed enough by Aloy and Seyka that he calls in his pet and flies away. Unlucky for you, that pet is an Apex Slaughterspine that makes for one heck of a boss fight.
How to Defeat the Apex Slaughterspine
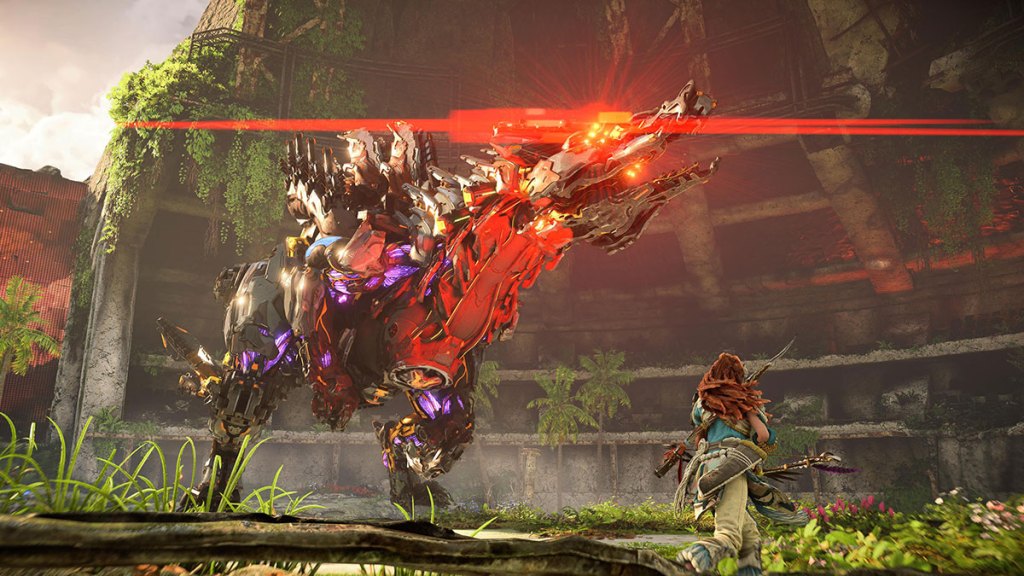
Scan the Apex Slaughterspine to add it to your collection. This machine is weak to fire and acid damage, so use any ammo you have that deals these types of elemental damage. It’s more susceptible to fire damage, so opt for that above acid if you can.
This fight is more of a war of attrition than anything else. The Apex Slaughterspine is literally covered in weaponry. No matter whether you remove its spines, tail, or damage its mouth, it’s got something else it can pull out to attack you with. We found that attacking the tail when possible helped negate most plasma attacks. Use the pillars in the arena for cover from charges, and switch to crafting ammo when it lets out a roar because Aloy will always be affected by that in this enclosed space.

Once you’ve killed this monster of a machine, Seyka and Kina will head back to Fleet’s End. Aloy and Seyka share a moment together, but they’re not ready to let their guards down just yet. There’s still one more fight ahead of them. You’ll get the Specter Stripe Face Paint for completing this quest, but make sure you search the Apex Slaughterspine to gather all of its rare components too.


Published: Apr 24, 2023 11:12 am