An iconic returning feature that you can use in The Legend of Zelda: Tears of the Kingdom is the Camera. This is a helpful item that you can use to catalog any item or enemy you encounter during your exploration of Hyrule Kingdom, and it’s a fun way to log your adventure.
The Camera is not an item you immediately unlock. It’s something that appears as you progress through the story, and you’ll need to work your way through a specific main story quest called Camera Work in the Depths. This guide covers how to unlock the Camera and how to use it in The Legend of Zelda: Tears of the Kingdom.
Related: Tears of the Kingdom – How to Shield Surf
How to Complete Camera Work in the Depths in TotK
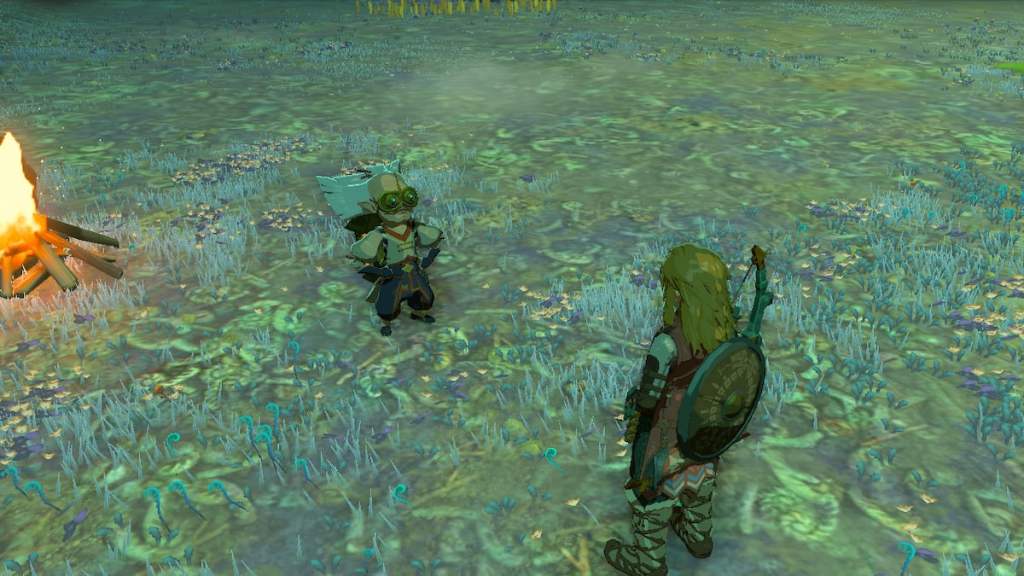
The Camera Work in the Depths quest appears shortly after you’ve spoken with Purah and used the Skyview Tower in Central Hyrule and acquired the Paraglider. This quest gives you access to the glider and invites you to explore the surrounding area in Tears of the Kingdom.
If you return to Robbie at Lookout Landing, he and Josha are speaking about the large chasm to the south of the location. They’ll invite you to check it out, giving you the quest. The next step is to make your way to this location, which is called Hyrule Field Chasm, directly south of Lookout Landing.
When you arrive, a handful of researchers will also be working to uncover what’s been happening with these underground locations and the new danger known as Gloom in Tears of the Kingdom. You can choose to speak with these characters or dive straight into the chasm to reach the bottom.
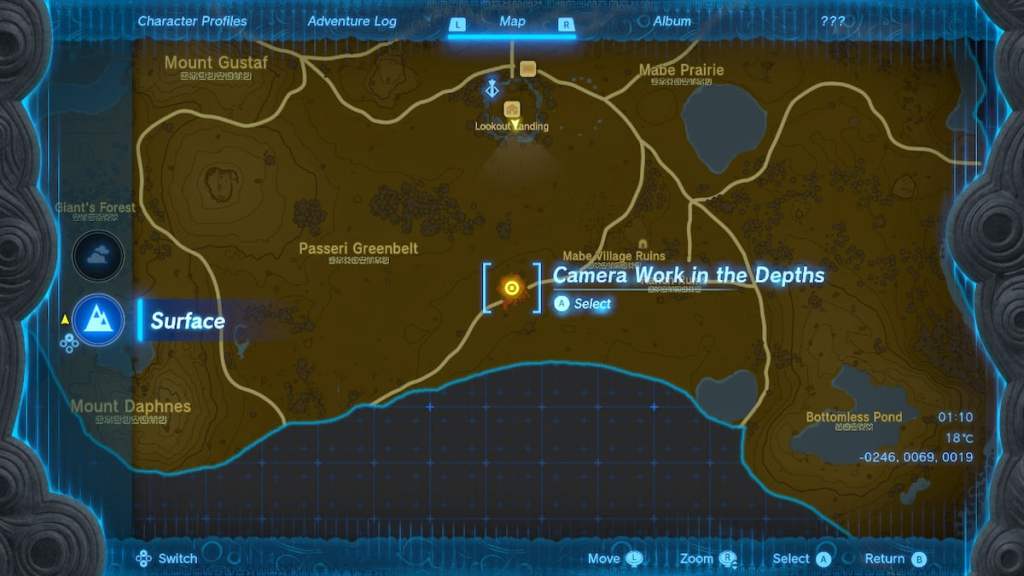
When you reach the bottom, you’ll enter a dark region called the Depths in Tears of the Kingdom. This is a location you’ll want to explore as much as possible, but for now, for this quest, the first thing you want to do is proceed south and make your way to the Nisoij Lightroot. It should not be too far away from your current position.
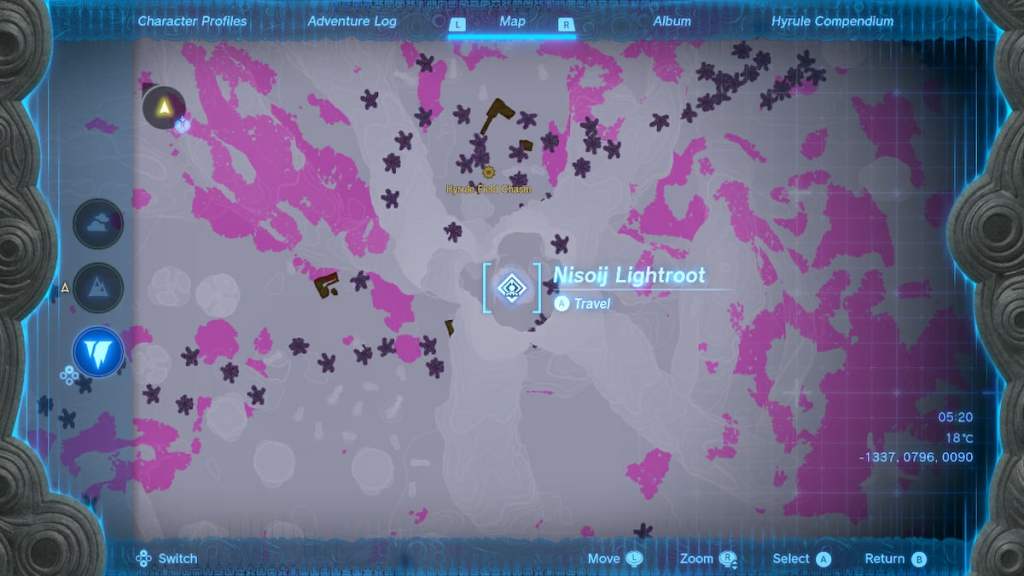
After you’ve done that, your goal is to find Robbie. The researcher at the bottom of the cave mentions he followed a particular path away from the Nisoij Lightroot, and you will need to make your way to the west of it.
We recommend using as many Brightbloom Seeds as possible to see in the dark while exploring this Tears of the Kingdom region. You can fire these at any dark location you see, which you can do by attaching them to an arrow or throwing them. When you want to throw an item, wind up to throw your weapon, and then switch to a material by clicking the Up direction on your D-pad.
You will need to proceed to the west until you reach the Iayusus Lightroot, a second one that you can find while exploring the depths. Robbie will be near this location, the person you’ve been trying to find while exploring this region.
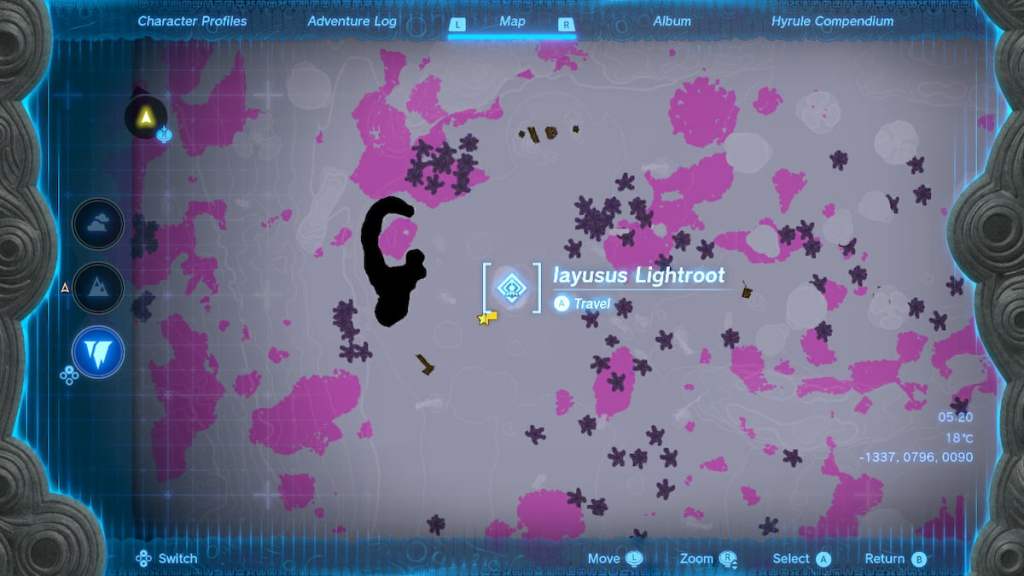
Speak with Robbie, and he’ll ask you to take a picture of a nearby statue. After you grab the photo, it’ll be time to return to Josha back at Lookout Tower, and you can fast travel back to this point unless you’d like to continue exploring the Depths and learning more about this area in Tears of the Kingdom.
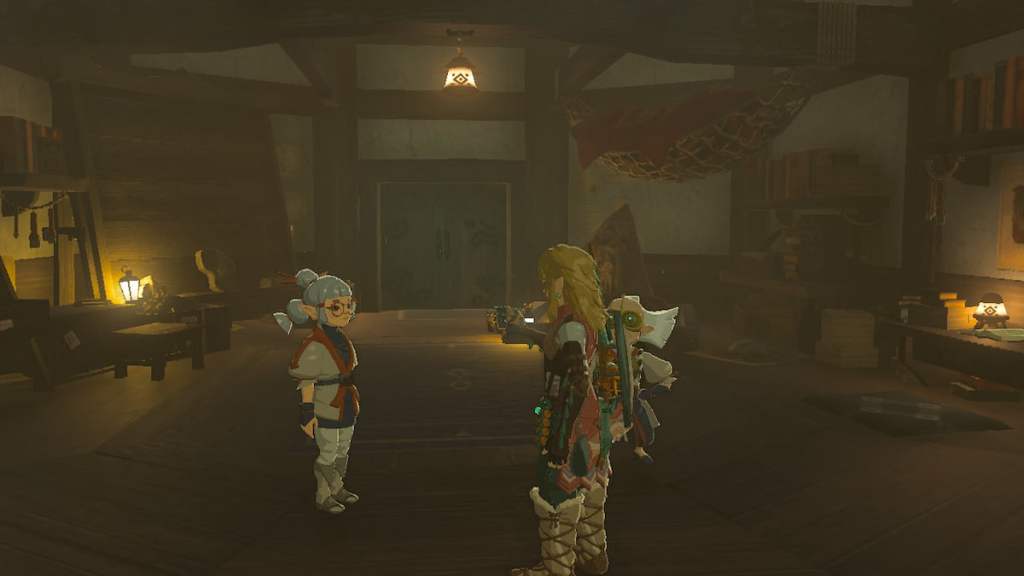
When you return to the Lookout Tower, speak with Josha and Robbie about where you originally found them, and show Josha the picture you took of the statue. There will be a brief discussion between all the characters, but after you’ve done this, the Camera Work in the Depths quest will be complete, and you can now regularly use the Camera.
How to Use the Camera in Tears of the Kingdom
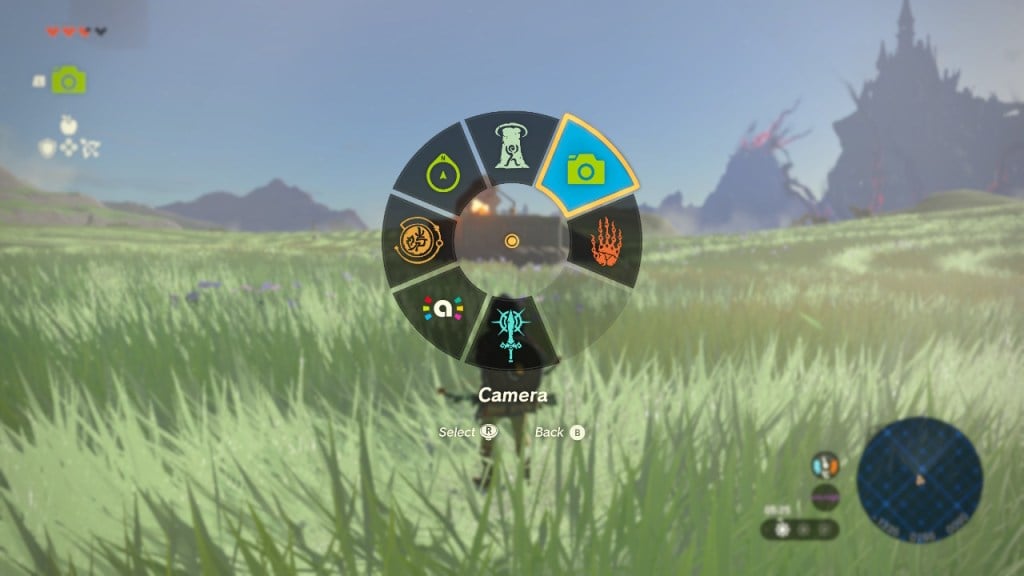
When you unlock the Camera, it will appear in your Ability Menu for Tears of the Kingdom. You can activate it by clicking the L-button on your Nintendo Switch and bringing it up. This will activate the Camera, and you can freely take a picture of anything you see. You’ll have the chance to zoom in and out or swap it so Link is featured in the photograph.
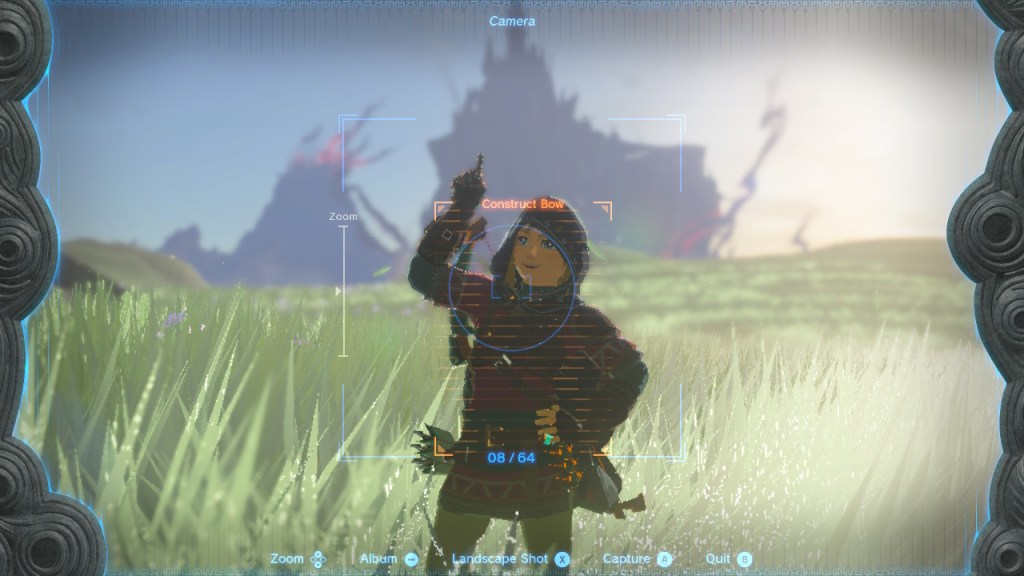
While you have Link in the photograph, he can make a variety of poses that you can use for the featured image. Any new item featured in the picture will be added to your Hyrule Compendium, which provides a detailed breakdown of the item or creature you encounter while playing Tears of the Kingdom.
And that’s it! Check out our other The Legend of Zelda: Tears of the Kingdom guides below to help with crafting, exploring, and tackling challenges across Hyrule.
Tears of the Kingdom Complete Guide | Every Ability & How To Unlock Them | How to Get The Paraglider | How to Get & Use The Travel Medallion | All Armor Locations & Where to Find Them | All Construct Materials & Where to Find Them | All Shrine Locations & Strategies | How to Get More Heart Containers





Published: May 26, 2023 04:36 pm